A/B Email Testing in Mautic

If you’ve ever wondered whether your subscribers prefer “Get Your Free Guide” or “Download Now” as a subject line, A/B testing is your answer.
A/B testing is a proven way to optimise your email campaigns by sending two variations to your audience and measuring which one performs best. With 60% of companies already using A/B testing and another 34% planning on using it, even small tweaks like changing a subject line, or rearranging the layout of an email has been found to increase click-through rates by as much as 127%.
Mautic, the open-source marketing automation platform, makes it straightforward to run A/B tests. In this blog, follow a step by step walk through of how to set up A/B testing in Mautic and some best practices to get the most out of your experiments.
1. Setting up an A/B test in Mautic
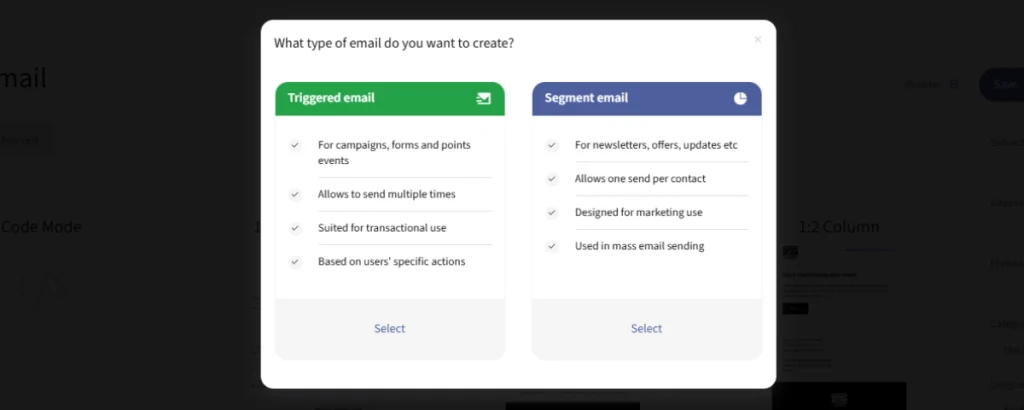
The first step to testing your email effectiveness is to login to your Mautic dashboard and head to the Emails section. Here, you’ll decide whether to test a Segment Email (sent to a specific group of contacts) or a Campaign Email (part of an automated campaign).

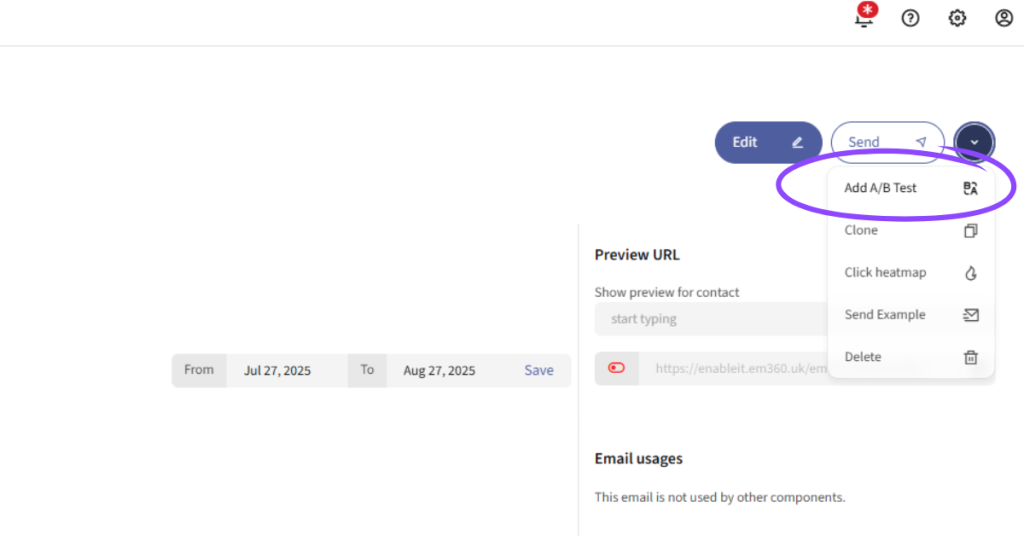
Once you’ve created the email, select A/B Test Email from the options dropdown.
Mautic will prompt you to choose a “parent” email—this will be your control (the original version you’re testing against).

Now it’s time to create the variations. You can test things like:
- Subject lines – e.g., “Join Us Today” vs. “Don’t Miss Out!”
- Sender names – e.g., “Your Company” vs. a personal name
- Content – CTA button placement, wording, or layout
- Images – use different images to see which grabs the most attention
It’s best to test just one variable at a time to get clear, actionable results.

2. Configuring the test
Next, configure how your test will run. Mautic lets you decide:
- Percentage of contacts who receive each variation
- Duration of the test (e.g., run for 24 hours before selecting a winner)
Winning metric – open rate, click rate, or you can manually choose the winner
3. Running and monitoring results
Once your variations are ready and criteria set, assign the email(s) to a segment or campaign and send. Mautic will then send the allocated variations and start collecting data.
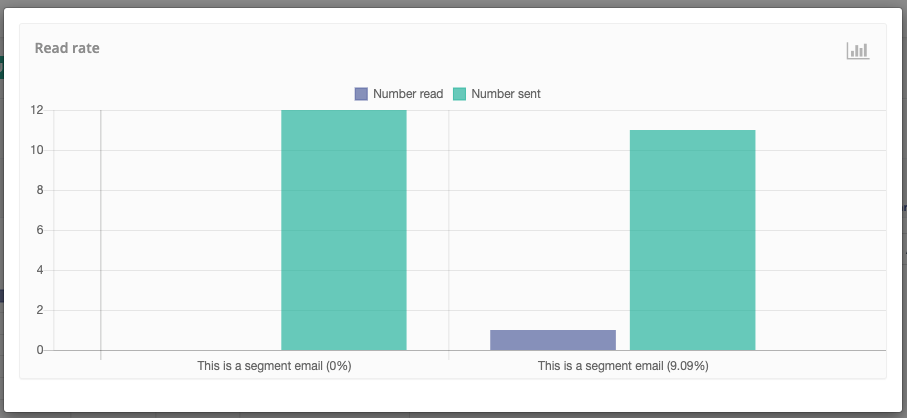
After your test has run, it’s time to review the results. Head to your email reports to see which variation performed better.
Pay close attention to:
- Open rate (which subject line grabs attention)
- Click-through rate (which content or CTA drives action)
- Conversions (ultimate measure of effectiveness)
Use these insights to refine your future campaigns and continuously improve.

4. Best practices for A/B testing in Mautic
Running a test campaign is easy, but don’t forget you need meaningful results to improve next time. Keep these best practices in mind:
- Test only one variable at a time
- Make sure your audience sample is large enough
- Run tests regularly – what works today may not work next quarter
Use results to refine subject lines, CTAs, designs, and personalisation
A/B testing is one of the most powerful tools in your email marketing toolkit. With Mautic, you can quickly set up tests, measure performance, and improve based on real data, not guesswork.
If you want to expand your marketing success with Mautic, A/B testing is a great place to start. To learn more or get support with optimising your campaigns, reach out to our team by clicking this link.


