Beginners' Guide to Mautic: How to create a segment

If you’re new to Mautic, one of the first features you’ll want to understand is Segments. Segments allow you to group contacts based on shared characteristics such as behaviour, demographics, or custom fields, so that you can send targeted emails. Segmenting your audience effectively can increase customer lifetime value by up to 33%, so you won’t want to look over this step when sending your first emails from Mauitc.
In this beginner-friendly guide, you’ll learn exactly how to create segments in Mautic, why segments matter, and how you can use them to power effective marketing automation.
What Is a Segment in Mautic?
A segment is simply a list of contacts that meet certain criteria. Segments can be:
- Static, where contacts are added manually.
- Dynamic, where contacts are added automatically when they meet specific filters (e.g., “Country = UK”).
- If your CRM is connected, contacts will be automatically added to segments when they meet report filter criteria.
Segments help you personalise your marketing, improve deliverability, and run automated campaigns more efficiently.
Why Segments Matter for Marketing Automation
- Better targeting: Send relevant messages to the right audience.
- Time-saving automation: Combine segments with campaigns to create automated workflows.
- Improved open and click rates: Targeted messaging leads to better engagement.
- Cleaner data: Organise your contacts effectively.
How to Create a Segment in Mautic (Step-by-Step)
Follow these steps to create a segment in Mautic:
Step 1: Log in to Your Mautic Dashboard
Once you’re logged in, you’ll see the main dashboard, which presents a clear overview of recent activity, emails sent, forms completed, and much more.
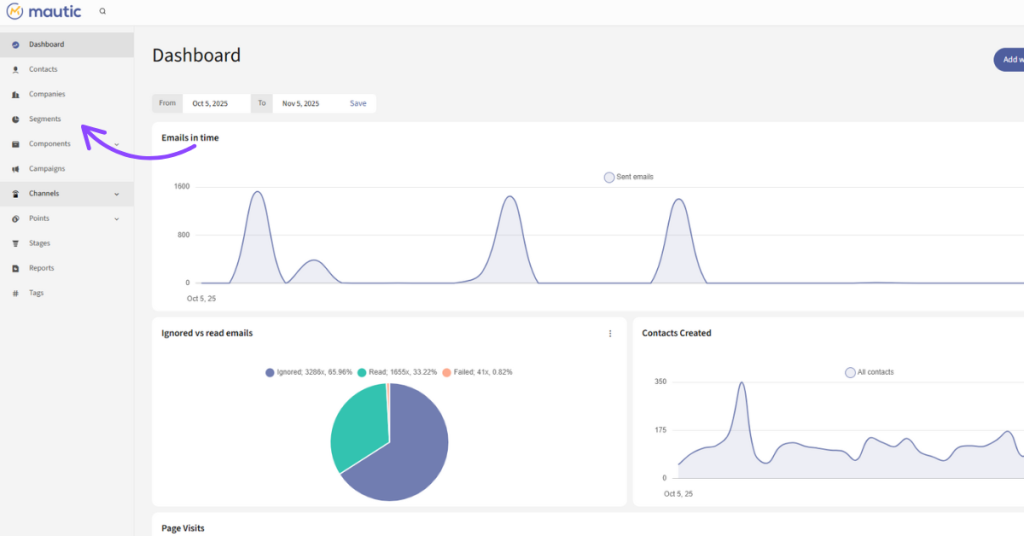
Step 2: Navigate to the Segments Section
From the left-hand menu, click Segments. This will take you to a list of all existing segments.
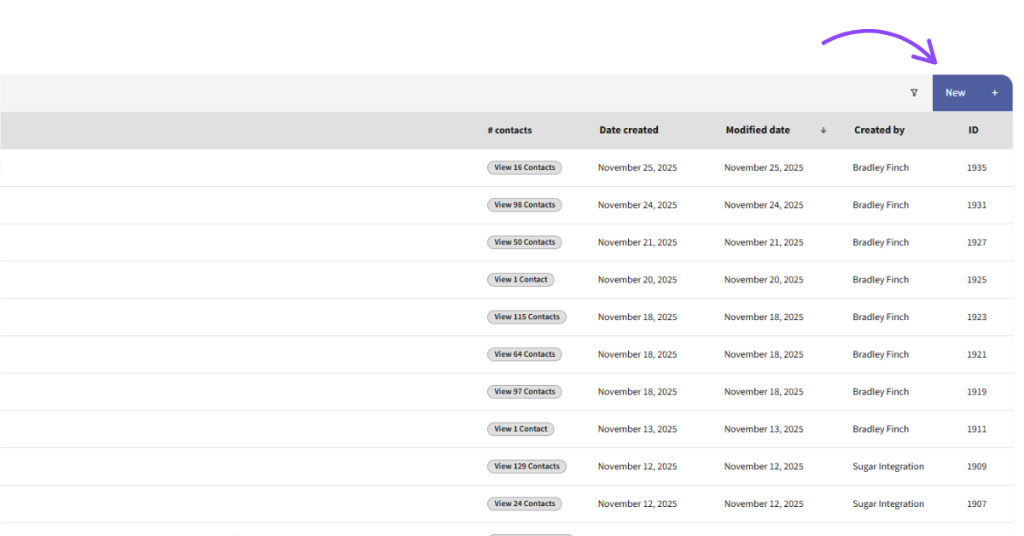
Step 3: Create a New Segment
In the top-right corner, click the “New” button to begin creating a new segment.
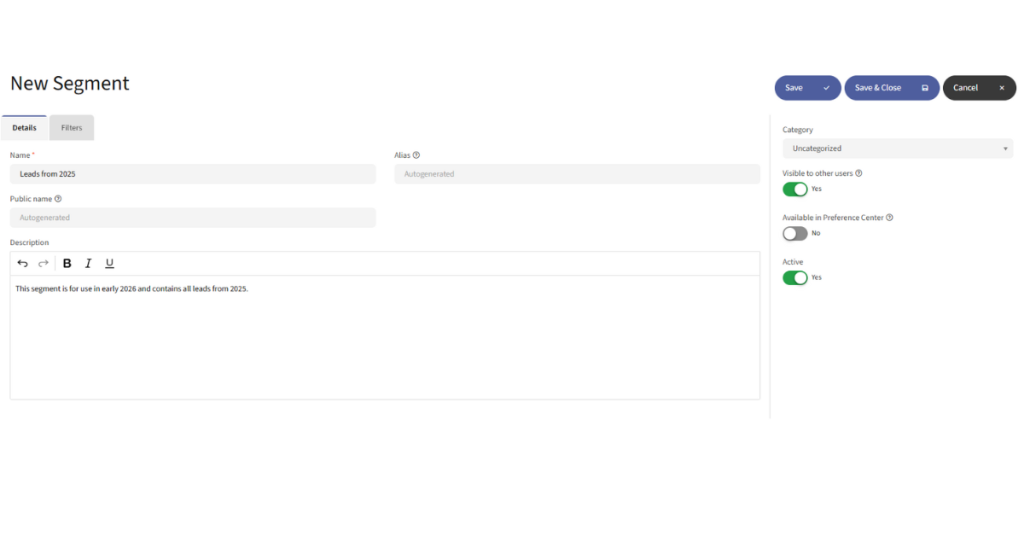
Step 4: Fill Out Segment Details
You’ll now be taken to the segment creation page. Enter a name for your segment – e.g., “Leads from 2025”.
Description is optional, but can be helpful for other people within the company when viewing segments.
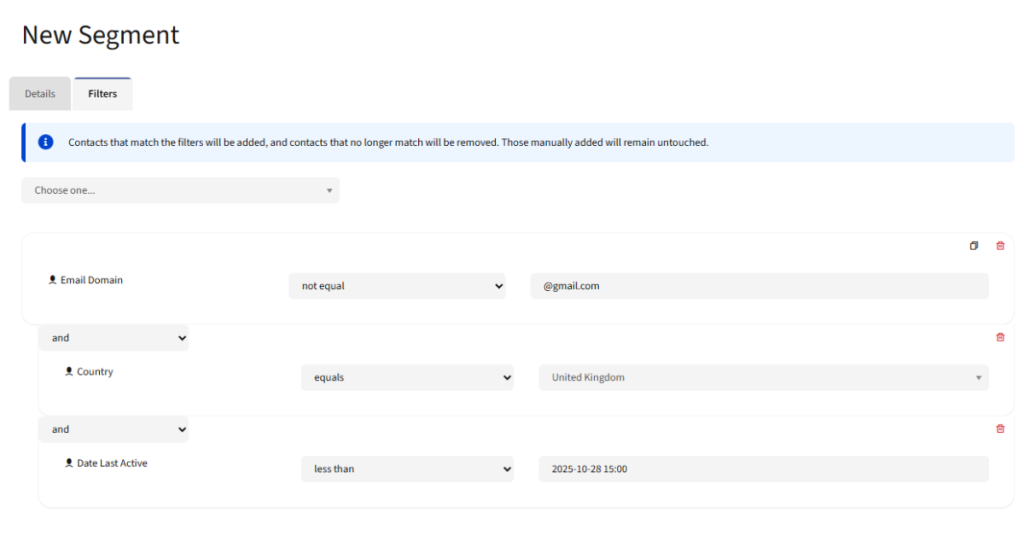
Step 5: Add Filters to Create a Dynamic Segment (Optional)
Under the Filters tab, you can define rules that automatically add contacts to the segment.
- Examples: Exclude emails which contain “@gmail.com”
- Country = United Kingdom
- Last active within 30 days
Filters are essential for automation and keep your segments up to date.
Step 6: Save Your Segment
Once your details and filters are set, click Save & Close.
Your segment is now ready to use in:
- Email broadcasts (segment emails)
- Campaigns
- Lead scoring
Tips for Effective Mautic Segmentation
- Keep segments simple: Over-segmentation can get messy.
- Use dynamic filters whenever possible: These keep your lists clean automatically.
- Regularly review segment size and engagement.
Some common Use Cases for Mautic Segments
- Newsletter subscribers
- Leads from a specific event
- Contacts with a high engagement score
- Webinar attendees
- Country or language-based targeting
Final Thoughts
Creating a segment in Mautic is a simple but essential step toward more personalised and effective marketing automation. We hope this guide has helped you feel more confident in getting started. Check out our other Mautic blogs.
If you ever get stuck or need a hand with anything Mautic-related, whether it’s building segments, setting up campaigns, or troubleshooting, we’re here to help!